Leave Your Message
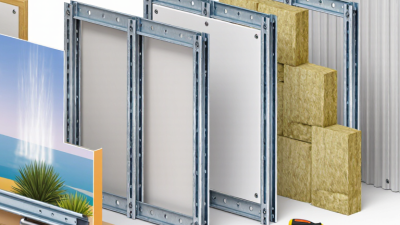
Metal Stud Homes can deliver straight walls, precise layouts, and resistance to termites. But dependable performance comes from details, not steel alone. Buyers should examine the entire wall assembly, including insulation, thermal breaks, air sealing, moisture control, and fasteners. Small omissions matter. A cold corner or poorly sealed opening can undermine an otherwise solid build.
The U.S. Department of Energy’s Energy Saver guidance notes that steel studs can conduct heat about 400 times faster than wood studs. That figure makes thermal bridging a practical buying concern, not a technical footnote. Ask how the plans limit heat flow through framing, and request product specifications and installation records. Building scientist Dr. Joseph Lstiburek expresses the building-envelope principle this way: “Keep the outside out and the inside in.” For a steel-framed home, that means assessing how the design manages rain, air, heat, and moisture together.
These ten tips will help buyers compare builders, review plans, inspect connections, and budget for finishes before signing. Look closely at corners, window openings, and roof-to-wall joints; those details reveal more than a glossy sales brochure. Ask who checks the work, and what happens when framing differs from the drawings. Some projects will still involve trade-offs. That is worth admitting. A metal frame is not automatically cheaper, quieter, or more energy-efficient. The right choice depends on workmanship, climate, design, and documented performance.
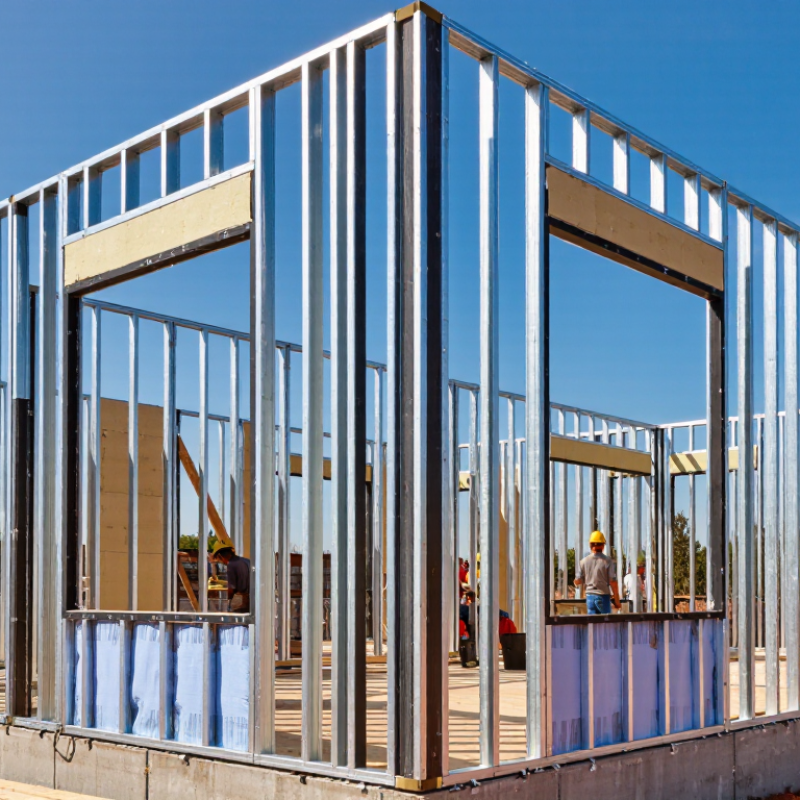
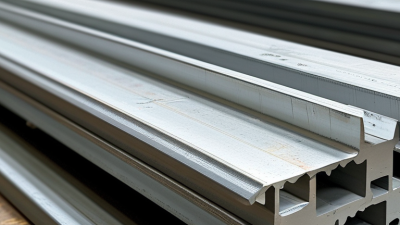
Before buying a metal-stud home, request the structural plans and verify that the load-bearing framing follows AISI S240-20. This North American standard covers design, detailing, fabrication, installation, and quality assurance for cold-formed steel framing. ASTM C955-22 covers structural framing members with a minimum base-metal thickness of 0.0329 inches (0.835 mm). That figure is a useful check, not proof that every wall is correctly designed. Thin coating can also make a stud look heavier than its base steel really is.
Compare the stud and track designations on site with the plans, then ask for mill certificates showing steel thickness and grade. Check screw patterns, bracing, track connections, and openings around doors; small omissions can matter under load. AISI S240’s installation provisions make these details part of the framing system, not cosmetic choices. Paperwork can be messy. If labels are missing, have a qualified structural engineer verify the members before closing the walls. Standards describe requirements; they do not confirm that a crew followed them. Cite the exact editions used in the project documents: AISI S240-20 and ASTM C955-22.
| No. | What to Check | Buyer Action | Relevant Standard or Document |
|---|---|---|---|
| 1 | Confirm the framing is structural | Ask whether the load-bearing wall, floor, and roof framing is cold-formed steel structural framing. Do not assume that light-gauge steel used for non-load-bearing interior partitions is suitable for structural use. | AISI S240 covers cold-formed steel structural framing. ASTM C955 covers load-bearing steel studs, runners (tracks), and related framing components within its scope. |
| 2 | Request project-specific design documents | Review the structural drawings, framing schedules, and design notes for the home. Confirm that the documents identify the framing members and show how the walls, floors, and roof transfer loads. | AISI S240 provides design and installation requirements for cold-formed steel structural framing. The project drawings should show how the standard is applied to the specific building. |
| 3 | Check the member specifications | Compare the specified stud and track sizes, thicknesses, and material properties with the installed framing. Ask for product documentation or inspection records where these details are not visible after construction. | ASTM C955 establishes requirements for load-bearing studs, tracks, bracing, and related products. AISI S240 addresses the design and installation of structural framing systems. |
| 4 | Look beyond the gauge label | Ask for the specified base-metal thickness rather than relying on a gauge description alone. Verify that the installed thickness matches the structural documents; do not compare members by appearance alone. | ASTM C955 includes dimensional and material requirements for products within its scope. The approved project specifications identify the required member properties. |
| 5 | Review openings and load-bearing details | Check that the drawings show framing around doors, windows, and other large openings, including the required headers, jambs, and connections. Ask how concentrated loads are supported and transferred. | AISI S240 includes provisions for structural framing design and installation. Opening details and load paths should be consistent with the project-specific structural design. |
| 6 | Verify bracing and bridging | Ask how the studs are restrained against rotation or buckling and how the framing is braced. Confirm that required bridging or bracing is installed as shown in the drawings and is not omitted behind finished surfaces. | AISI S240 addresses structural framing requirements, including bracing and installation. ASTM C955 covers bracing or bridging products within its stated scope. |
| 7 | Inspect connections and fasteners | Review the specified screws, clips, anchors, and other connections. Ask whether installed connection details match the drawings, especially at wall intersections, floor and roof lines, and the foundation. | AISI S240 covers structural framing connections and installation requirements. Connection selection and spacing should follow the approved design and applicable building requirements. |
| 8 | Ask about corrosion protection | Request details on the steel coating and confirm it is appropriate for the building’s exposure and intended use. Ask how framing is protected from persistent moisture and contact with incompatible materials. | ASTM C955 specifies requirements for products within its scope, including applicable material and coating provisions. Confirm the project specifications and exposure conditions with the design professional. |
| 9 | Check for unapproved field modifications | Look for cut, drilled, or altered structural members and ask whether changes were reviewed and approved by the responsible design professional. Do not assume that a field alteration is acceptable because it appears minor. | AISI S240 provides requirements for structural framing design and installation. Changes to structural members should be evaluated against the approved design and applicable requirements. |
| 10 | Get inspection and compliance records | Request available inspection reports, material documentation, and written confirmation of the applicable code and standard editions used for the project. Have unresolved structural questions reviewed by a qualified building professional. | AISI S240 and ASTM C955 have different scopes and are not interchangeable. Confirm that the project documents identify the applicable editions and demonstrate compliance with local code requirements. |