


Trough Cable Tray Installation Tips You Need Now
Introduction
Overview of Trough Cable Trays and Their Importance
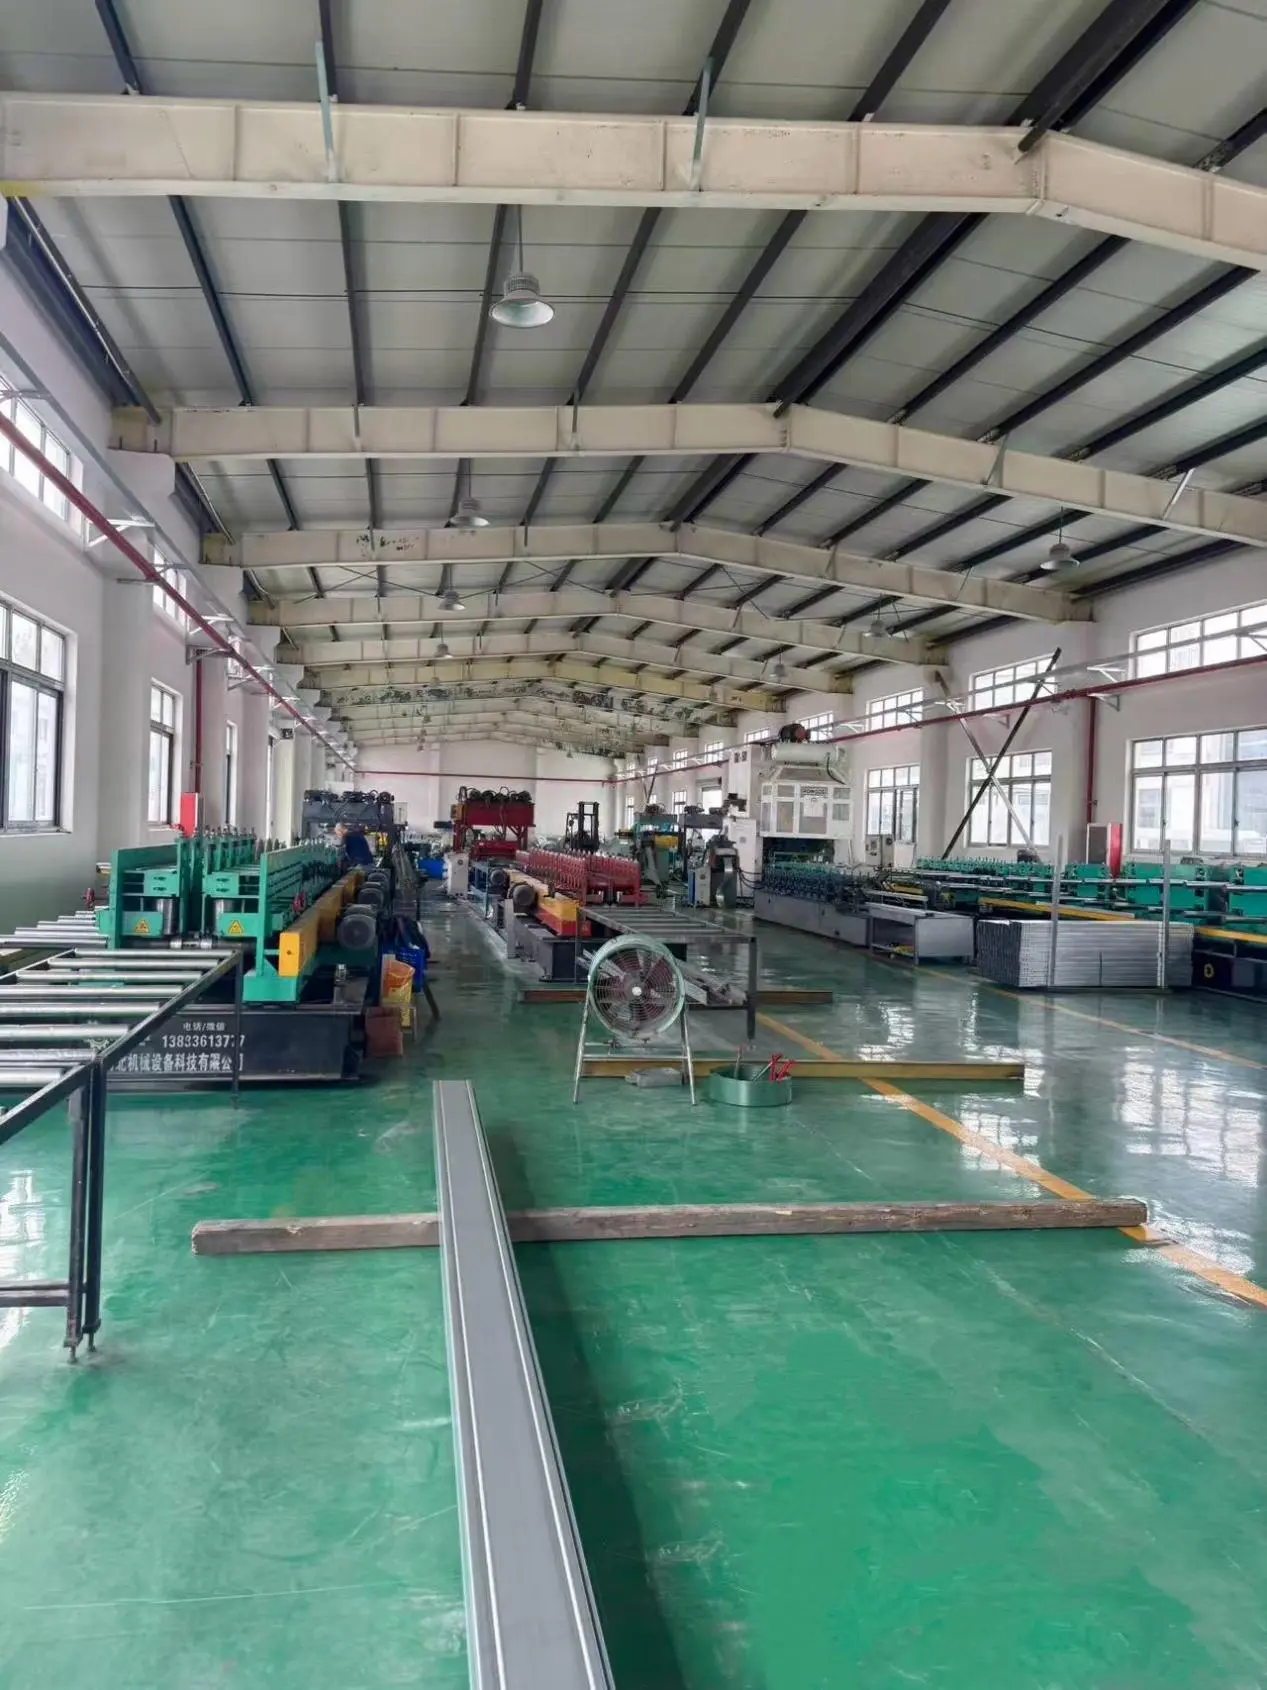
Trough Cable Trays are the unsung heroes of industrial and commercial electrical infrastructure. Designed with ventilated bottoms and side rails, they provide a stable yet flexible medium for routing and supporting bundles of power or communication cables. Whether it's a data center, manufacturing plant, or high-rise, trough trays ensure cables are neatly organized, easily accessible, and securely housed.
They strike a balance between protection and airflow—offering better mechanical shielding than Ladder Trays and improved ventilation over solid-bottom alternatives. This makes them ideal for environments requiring moderate protection without compromising heat dissipation.
Why Proper Installation Matters for Safety and Efficiency
Improper installation of trough cable trays can lead to cable sagging, system inefficiencies, overheating, or even hazardous electrical faults. Beyond operational disruptions, non-compliance with electrical codes can result in hefty fines and compromised safety. A well-installed system optimizes cable performance, ensures quick future maintenance, and extends equipment lifespan—delivering long-term value.
Understanding Trough Cable Trays
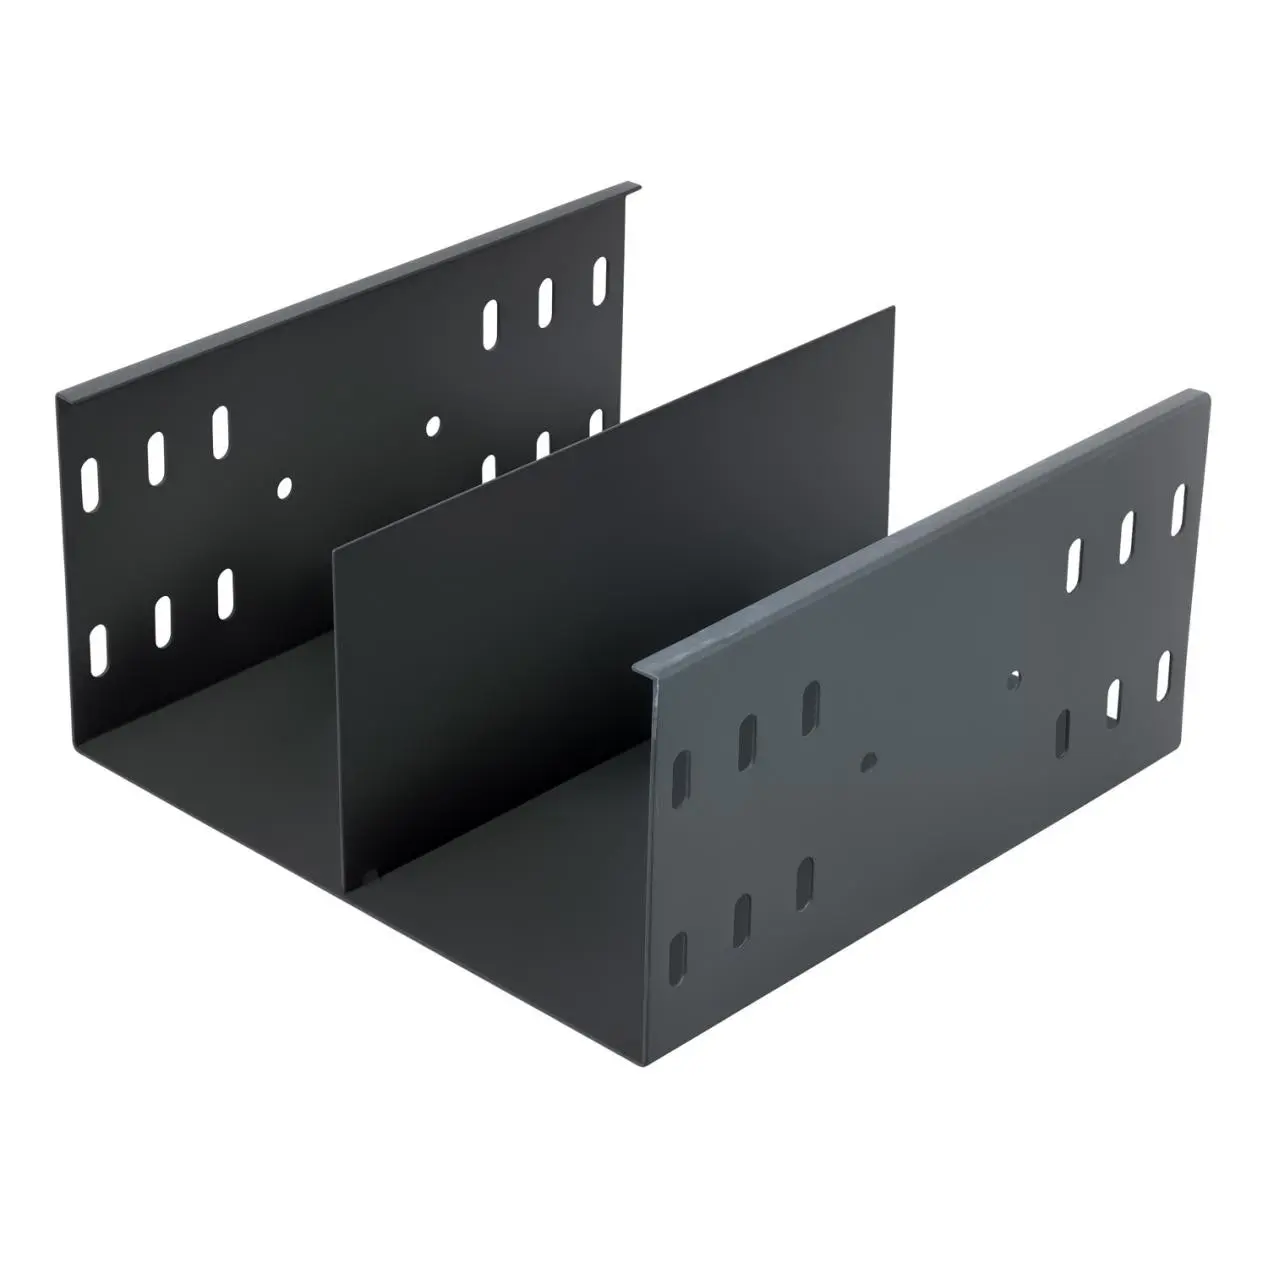
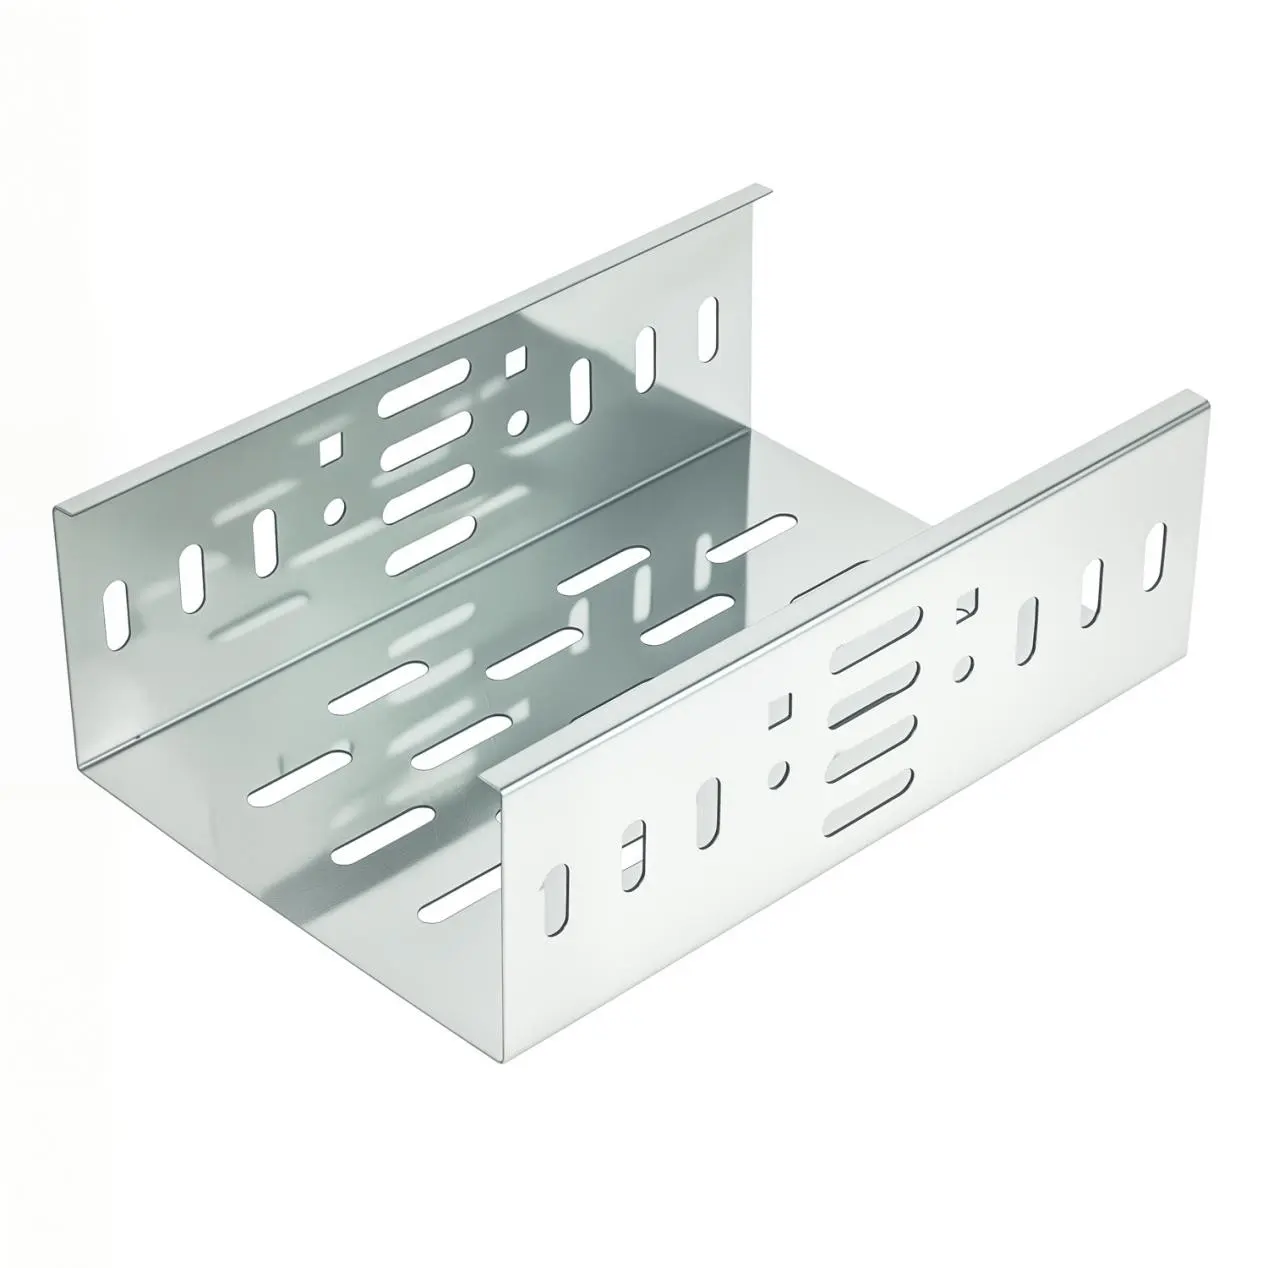
What Is a Trough Cable Tray and How It Works
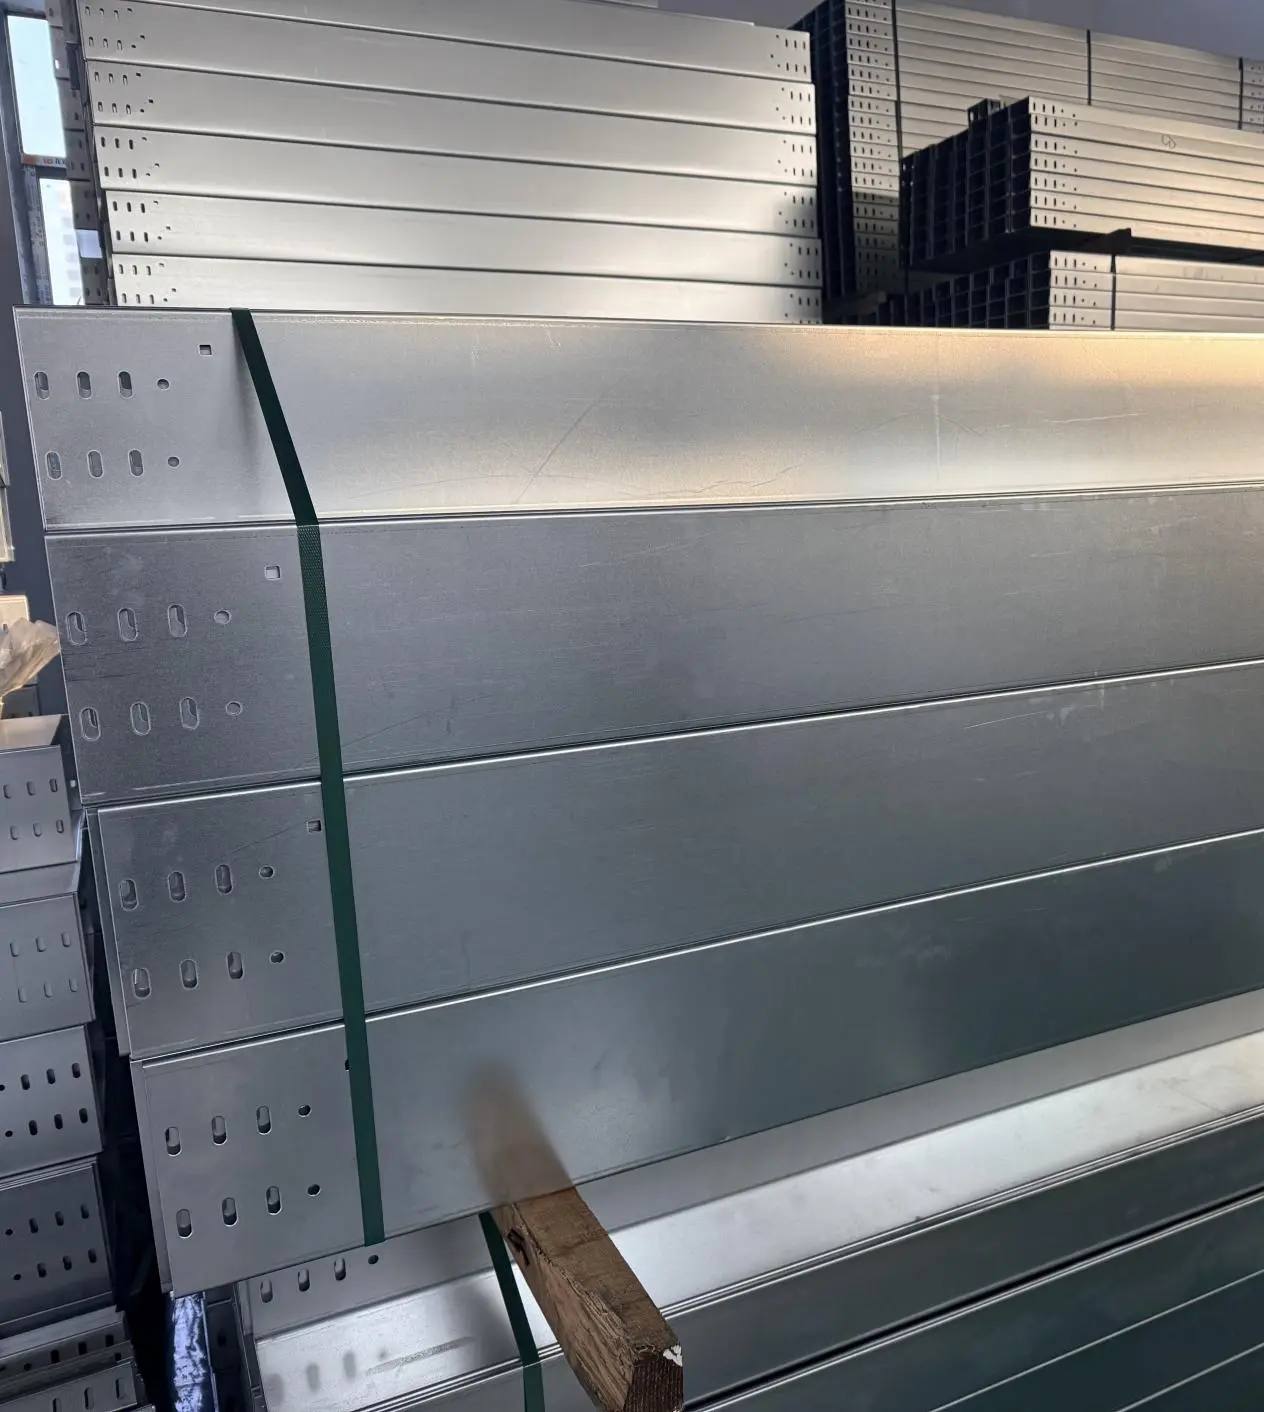
A trough cable tray features a U-shaped cross-section with ventilated bottoms and solid or ventilated side rails. These trays are primarily used to route and support electrical cables in a structured manner. The perforated base aids in air circulation, reducing heat buildup, while the solid sides offer moderate protection from physical impact and containment of sTray Cables.
The tray acts as a conduit framework—offering mechanical support and allowing for future expansions, reconfigurations, or inspections with minimal disruption.
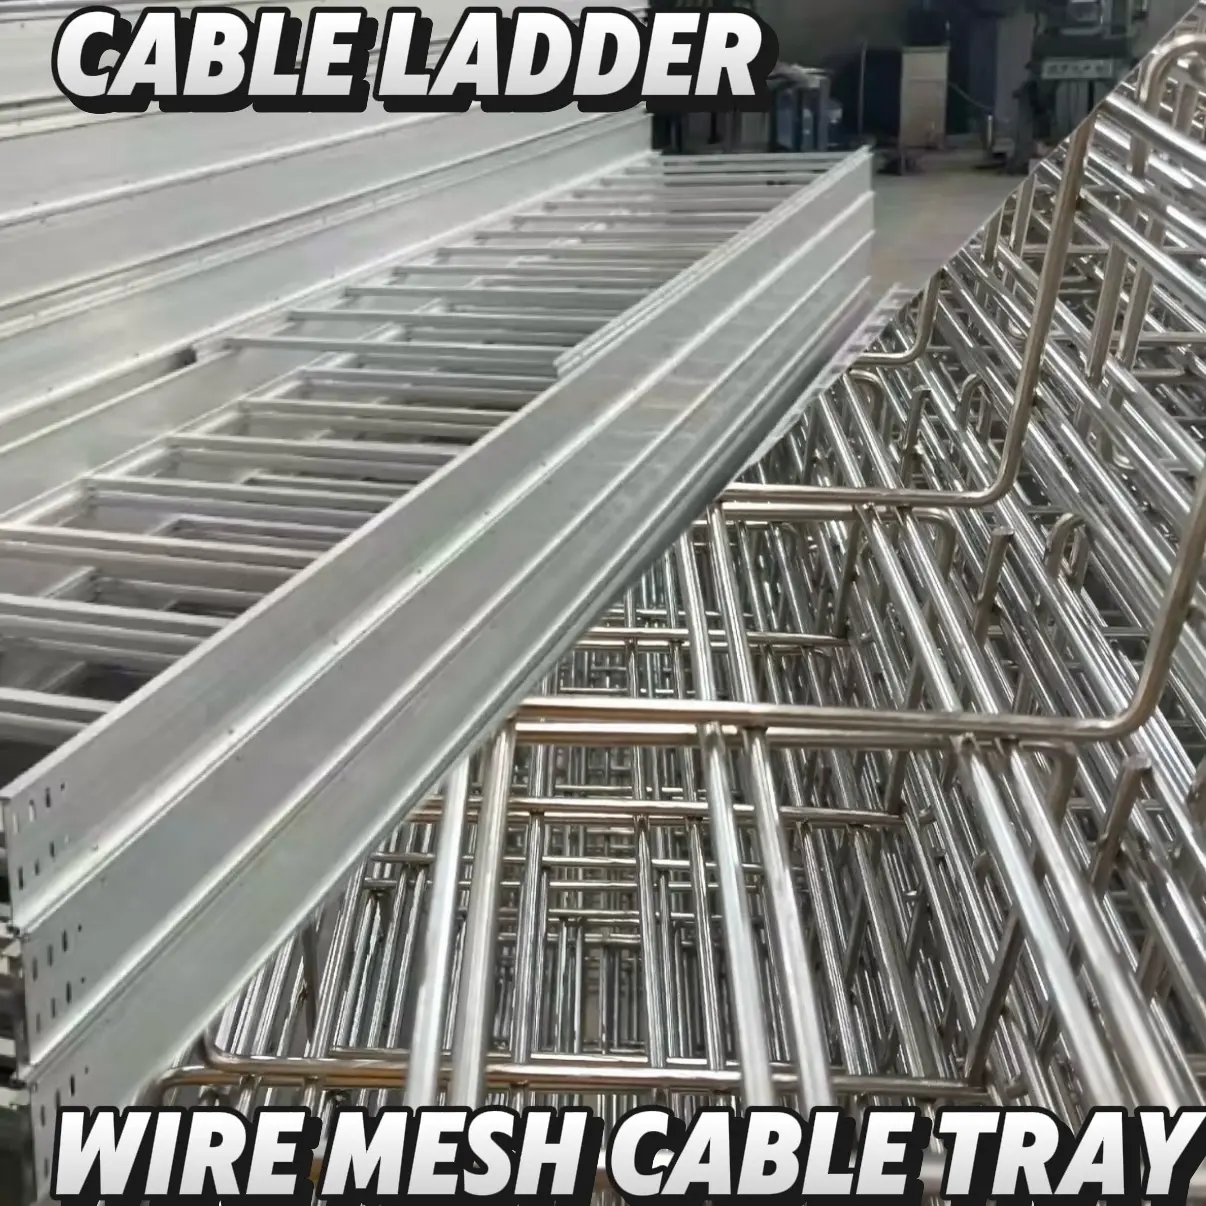
Key Differences Between Trough, Ladder, and Solid Bottom Trays
Trough Trays: Ventilated base with protection-focused sidewalls—ideal for medium-duty installations.
Ladder Trays: Open-rung design, promoting airflow and ideal for high-heat or heavy cable loads.
Solid Bottom Trays: Fully enclosed, offering maximum protection but minimal ventilation—suited for sensitive, low-voltage cables.
Trough trays bridge the gap between protection and airflow, making them a versatile option across various use cases.
Common Materials and Sizes Available
Trough trays come in galvanized steel, stainless steel, aluminum, and fiberglass-reinforced plastic (FRP). Each material offers different benefits:
Aluminum: Lightweight and corrosion-resistant.
Galvanized Steel: Durable and cost-effective.
Stainless Steel: Ideal for corrosive environments.
FRP: Non-metallic and suitable for chemical-heavy sites.
Standard sizes range from 50mm to 900mm in width, and depths from 50mm to 150mm, ensuring adaptability to cable volume and load demands.
Pre-Installation Planning
Site Assessment: What to Check Before You Begin
Begin with a comprehensive audit of the site’s infrastructure. Evaluate spatial constraints, cable types, environmental conditions (humidity, chemicals, heat), and existing support structures. Watch for architectural obstacles such as beams, HVAC ducts, or lighting that could interfere with the tray path.
How to Choose the Right Trough Cable Tray for Your Project
Selection should be based on the installation environment, load capacity, cable types, and expected expansion needs. For outdoor or corrosive areas, opt for stainless steel or FRP. For temperature-sensitive environments, choose trays that support ventilation without compromising structural integrity.
Load Calculations and Capacity Planning Explained
Calculate the combined weight of cables per meter and compare it against the tray’s load rating. Factor in future expansion by incorporating at least 20–30% overhead capacity. Account for support spans—shorter spans yield greater load tolerance.
Compliance and Code Considerations You Can’t Ignore
Adhere to regulations from the National Electrical Code (NEC), IEC, or local authorities. Ensure fire resistance, grounding standards, and cable separation for power and signal lines are respected. Non-compliance risks safety breaches and regulatory penalties.
Tools and Materials Checklist
Essential Tools for a Smooth Installation
Cable tray cutters
Torque wrenches
Leveling tools
Drill machines with appropriate bits
Measuring tape and chalk line
Hardware and Support Systems You’ll Need
Tray connectors (straight, horizontal, vertical)
Brackets and beam clamps
Hangers or trapeze kits
Splice plates and fasteners
Safety Gear to Keep You Protected on the Job
Insulated gloves
Safety goggles
Hard hats
Fall protection harnesses
Non-slip safety boots
Step-by-Step Installation Guide
Preparing the Area for Installation
Clear the designated path of obstructions and mark tray routes with chalk or laser. Ensure the installation surface is level and reinforced, particularly for overhead setups. Confirm access to power sources and support anchor points.
Mounting the Supports Correctly the First Time
Place supports at intervals recommended by the manufacturer, typically between 1.5 to 3 meters. Secure them with vibration-resistant fasteners and verify alignment with a level tool to avoid cable stress.
Securing the Trough Cable Tray for Long-Term Stability
Attach the tray sections using splice plates, ensuring they’re tightened to specified torque settings. Use anti-corrosion washers and locking nuts for outdoor or high-vibration environments.
Routing and Organizing Cables for Maximum Efficiency
Lay cables with a natural curve, avoiding sharp bends that can degrade performance. Use cable ties or clamps to separate signal and power lines and maintain uniform spacing to reduce EMI (electromagnetic interference).
Grounding and Bonding: Crucial for Safety Compliance
Install grounding straps or bonding jumpers across tray joints. Connect grounding conductors to the building’s main ground bar. This mitigates shock risk and ensures safe fault current dissipation.
Troubleshooting and Common Mistakes
Top Installation Errors and How to Avoid Them
Overloading the tray: Leads to sagging and accelerated wear.
Improper support spacing: Causes instability and long-term stress.
Skipping grounding: A major safety hazard.
Avoid shortcuts—each error compromises the entire system’s integrity.
Signs Your Tray System Is Not Installed Properly
Look for cable bunching, tray misalignment, corrosion at joints, and unsecured fasteners. Vibrations, rattling, or cable insulation damage are red flags that warrant immediate inspection.
Quick Fixes for Misalignment or Poor Cable Management
Re-level supports
Refasten loose joints
Re-route cables with adequate spacing and support
Add expansion joints in areas subject to temperature fluctuation
Maintenance Tips for Longevity
Routine Inspection Checklist to Keep in Mind
Check for rust, dirt buildup, and loose bolts
Inspect for sagging cables or tray deformation
Test grounding continuity
Perform inspections quarterly or as per facility standards. Document findings for ongoing compliance.
Cleaning and Rust Prevention Best Practices
Use anti-corrosive sprays for metal trays. In dusty or chemical-heavy environments, wipe trays with a damp, lint-free cloth regularly. Ensure drainage paths are clear to prevent water pooling.
When and How to Upgrade or Expand Your System
Upgrade when load capacity approaches its limit or if you're integrating new tech requiring more cabling. Use modular extensions or replace sections with wider or higher-grade trays. Maintain compatibility with existing supports and bonding paths.
Conclusion
Key Takeaways for a Successful Trough Cable Tray Install
A successful installation hinges on detailed planning, the right materials, precise execution, and ongoing maintenance. Every step—from site assessment to grounding—plays a vital role in ensuring cable tray performance and compliance.
Next Steps to Ensure System Performance and Safety
Create a maintenance schedule, train staff on safe handling, and regularly audit your setup for wear or inefficiencies. As infrastructure evolves, so should your cable management strategy—future-proofing starts with solid groundwork today.